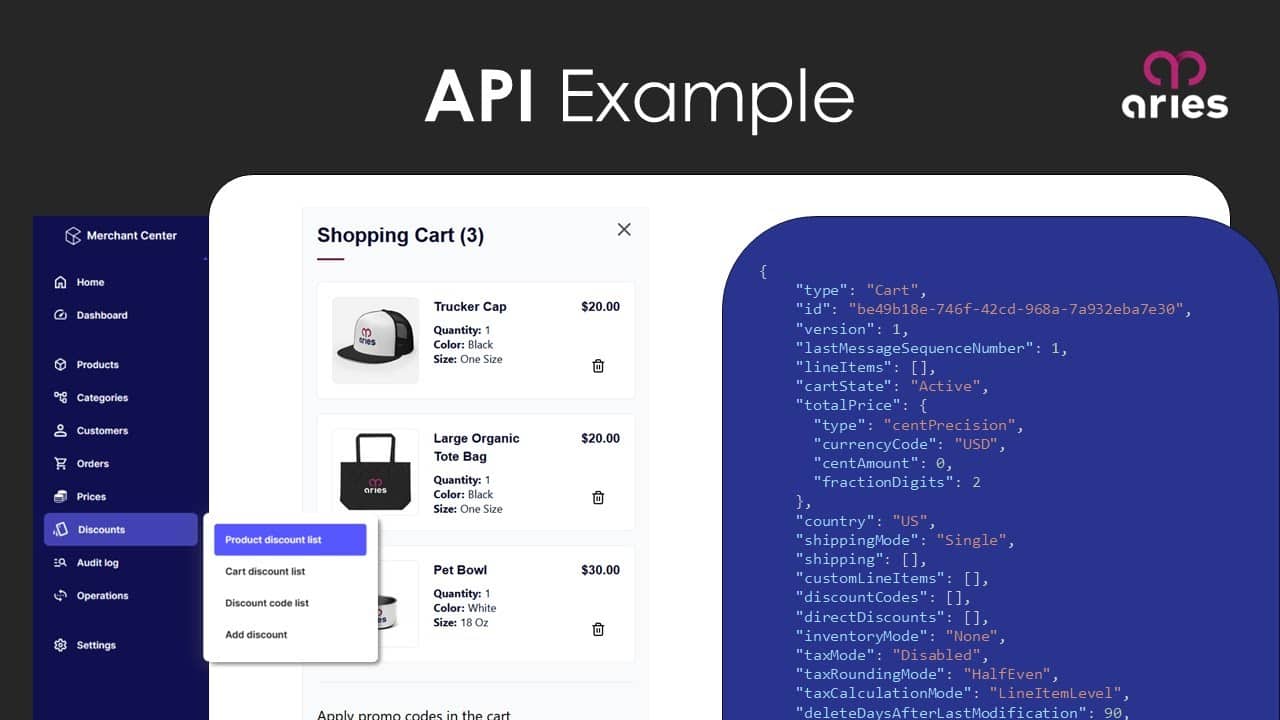
Creating a cart discount in commercetools is highly user-friendly. Imagine we’re running a 10% off sitewide promotion as a part of a welcome campaign. How do we set that up? Log in to your commercetools Merchant Center, select the appropriate project, and follow along.
The Setup
Once logged in, click on “Add Cart Discount.” The Cart Discount example we will use has the following parameters:
- 10% off
- Allows stacking
- Requires a discount code
- No start or end date
In order to set these parameters in the Merchant Center, you will need to do the following:
Leave it set as “Numeric” under the “Cart Discount Type.” 10% off is not a “Gift line item.”
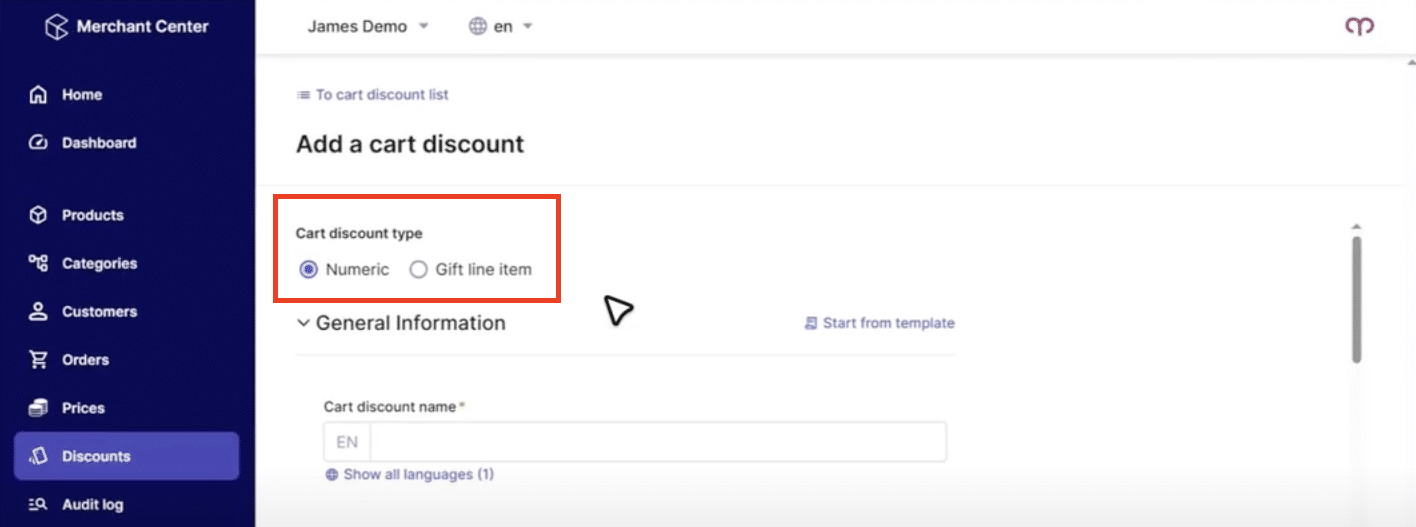
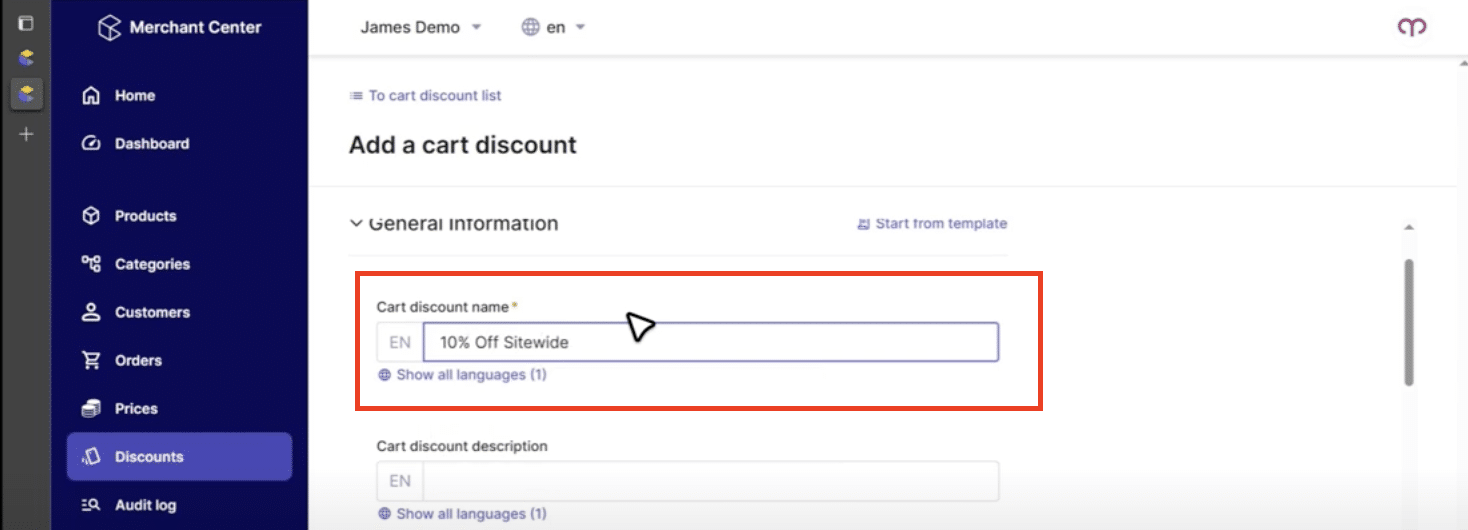
Give it a name. In this case, we’re calling it “10% Off Sitewide.”
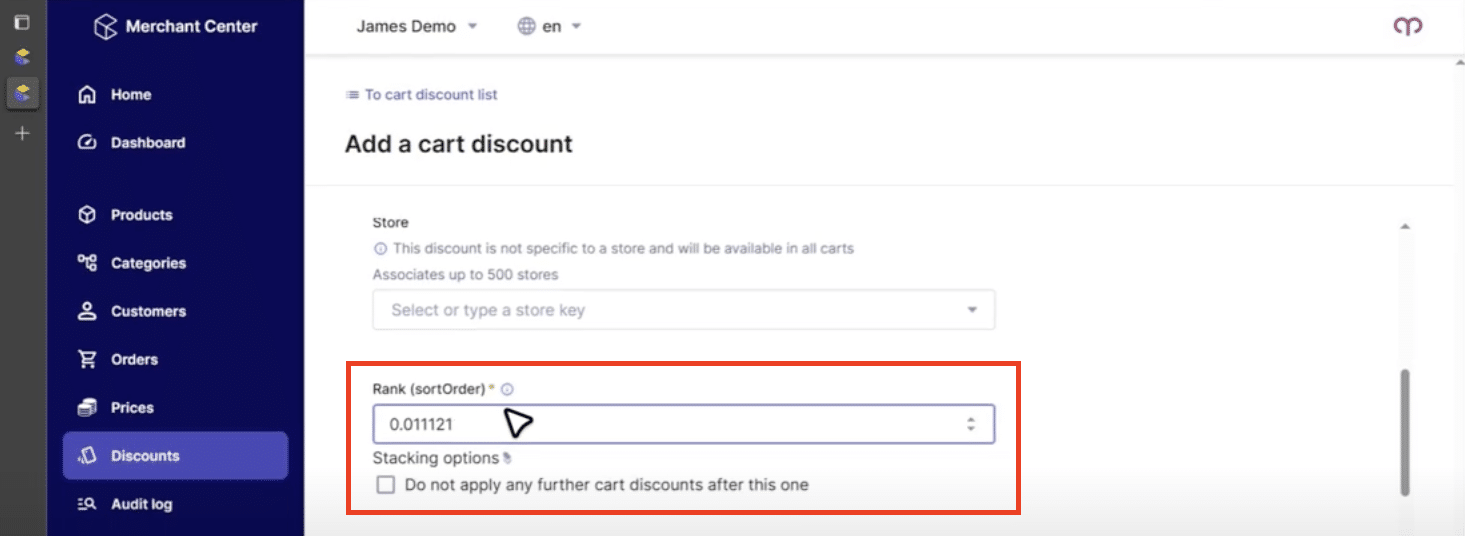
The cart discount description, cart discount key, and store are optional. Leave those blank. However, “Rank (sortOrder)” is required. This can be any number between zero and one. Keep in mind that the sort order needs to be unique across your project. We suggest using numbers smaller than .1, .2., .3, etc. so you don’t run out of sort order numbers too quickly. Our example allows Stacking so leave the box next to “Do not apply any further cart discounts after this one” deselected.
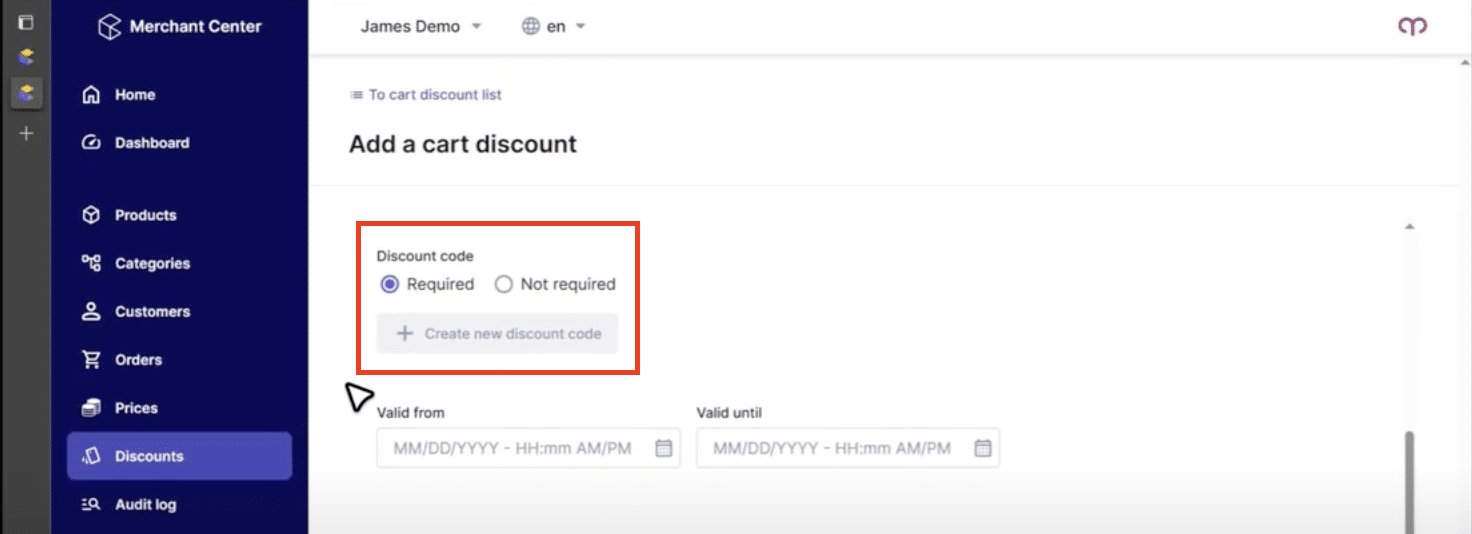
A Discount Code is required because we don’t want everyone getting 10% off on every single order they place. You can set the start date and the end date for how long you want your promotion to run, but we are leaving ours blank.
Questions to Ask When Creating a Cart Discount
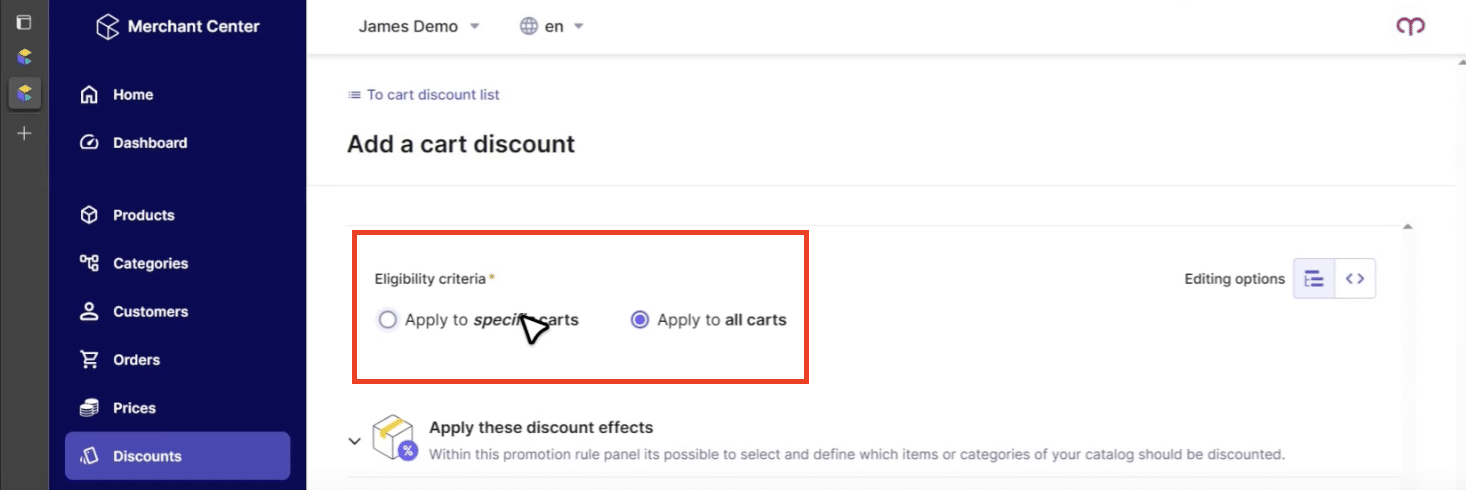
The first question you should ask yourself is, “Which carts deserve to get the discount? Do we want to set up rules for who’s allowed to have the promotion? Or should we let everyone have it as long as they have the coupon code?” Since we’re keeping this example simple, we’re going to say “Apply to all carts”. In future articles, we’ll get into how to set up “Apply to specific carts.”
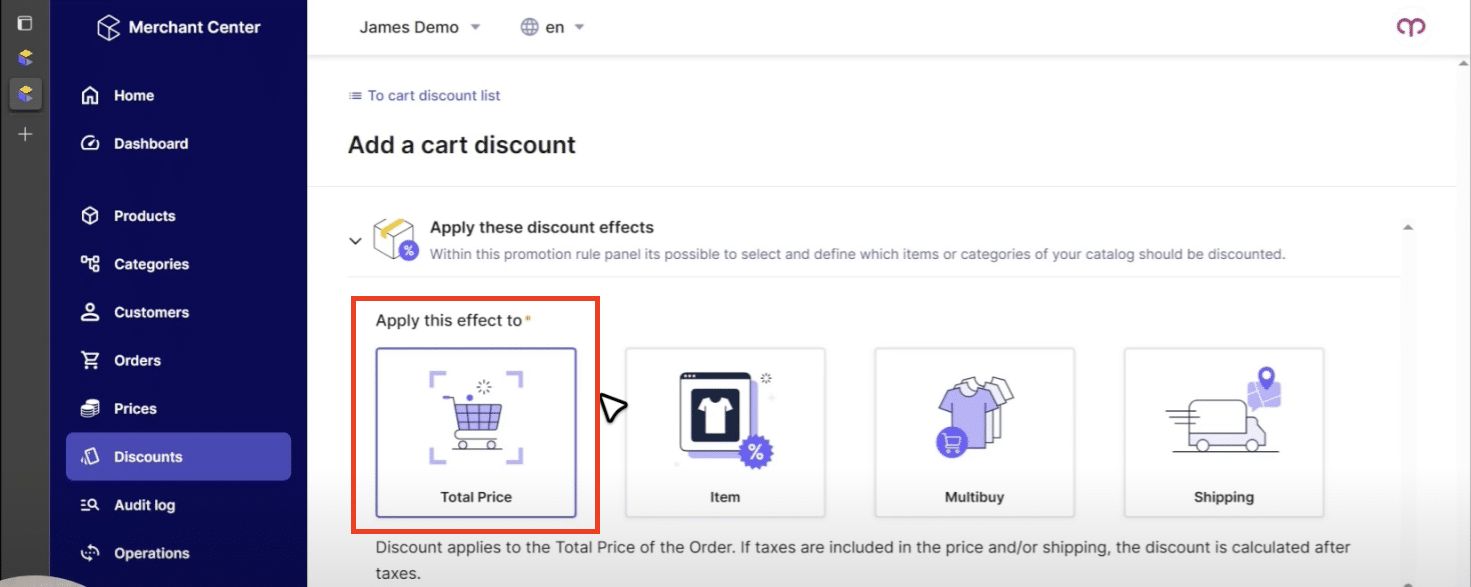
The next question we ask is, “What do we want the discount to apply to? Do we want 10% off shipping? Do we want it to apply to a multi-buy, such as a buy-one-get-one offer? Do we want it to apply to only specific items such as a portion of the cart or a single line item? Or do we want 10% off the whole value of the cart?” That’s what we’re going to do here; we’re going to take 10% off of the total price.
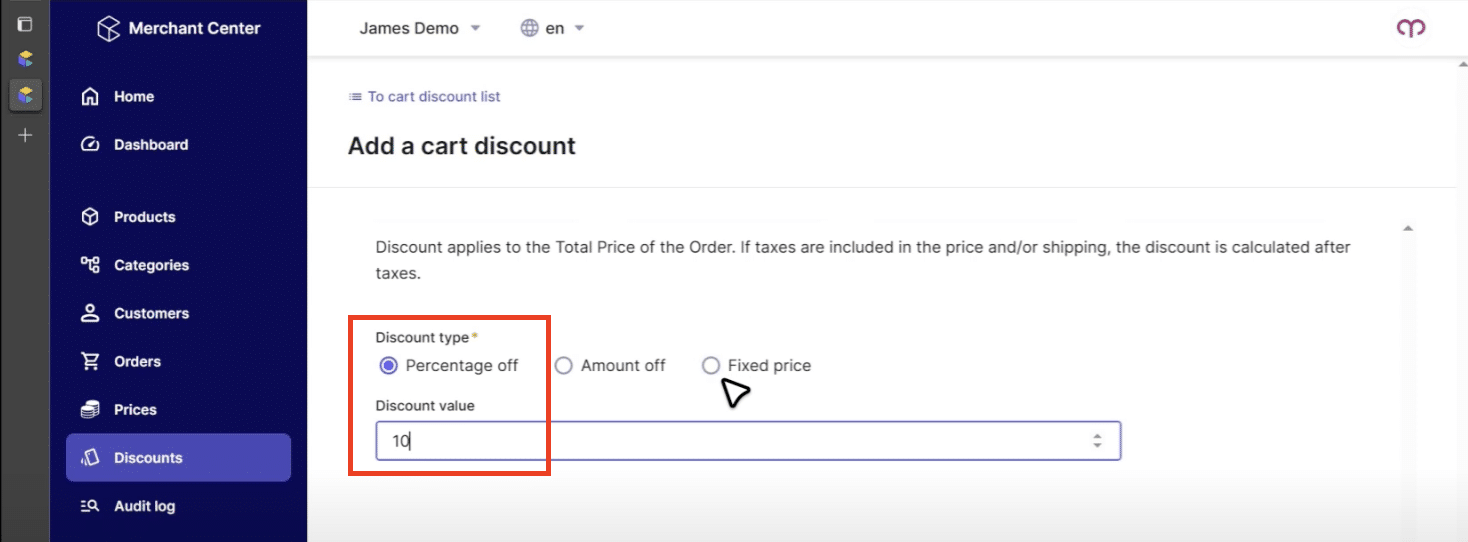
As discussed in the Promotions Overview article, you can have a percentage off, an amount off, or a fixed price. For our purposes here, a “Percentage off” is exactly what we want. Enter the amount of “ten.”
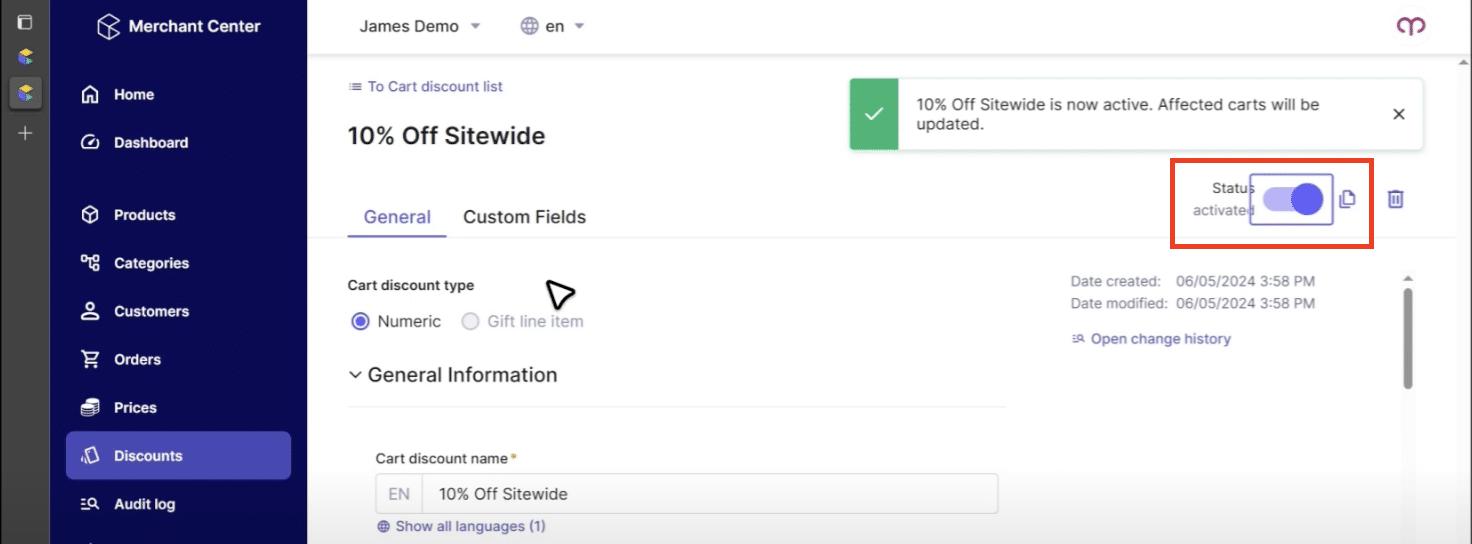
Once you have all of your fields filled out, be sure to save and activate the discount. Discounts must be activated in the Merchant Center for them to be used.
Adding a Discount Code
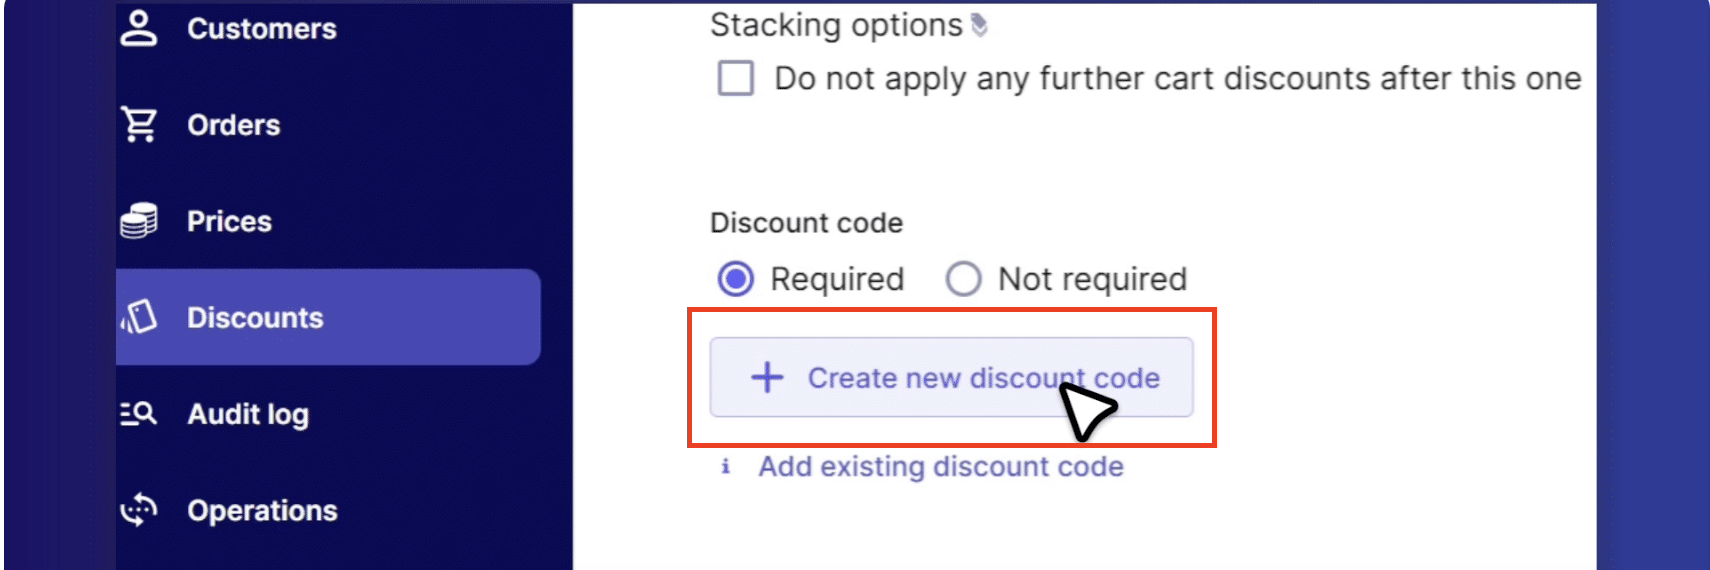
You can go back to “Add Discount” and add it from there, or you can use the shortcut by clicking on “Create a new discount code.” That takes you to the “Add a discount code” page.
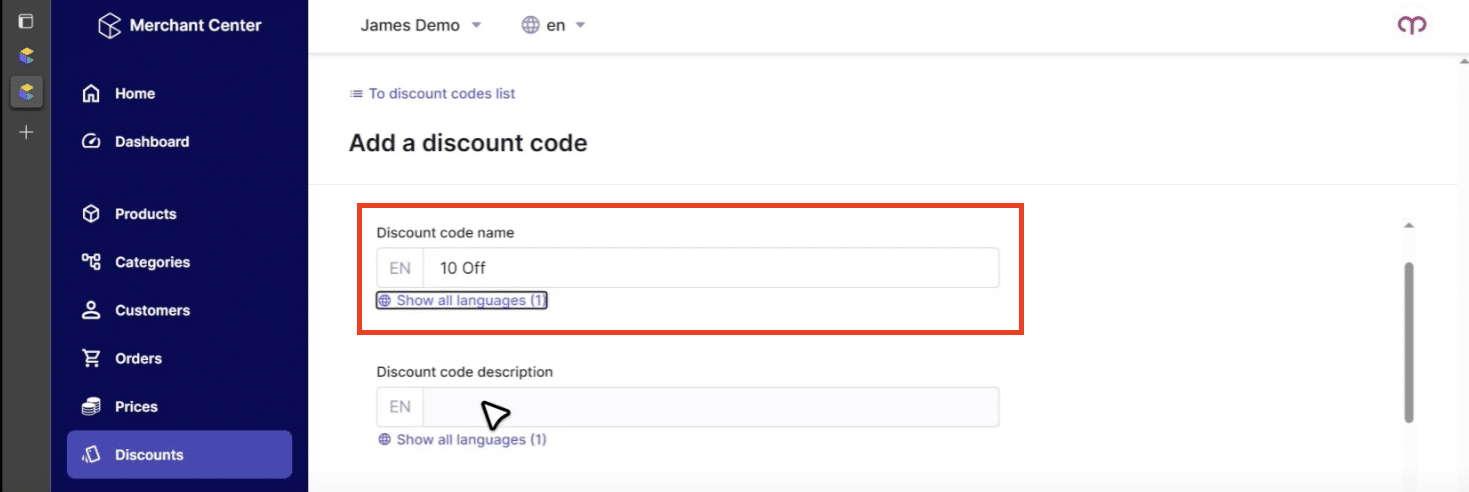
Following our example, the discount here is still 10% off, so we’ll name it appropriately. The discount code description and discount code key are optional.
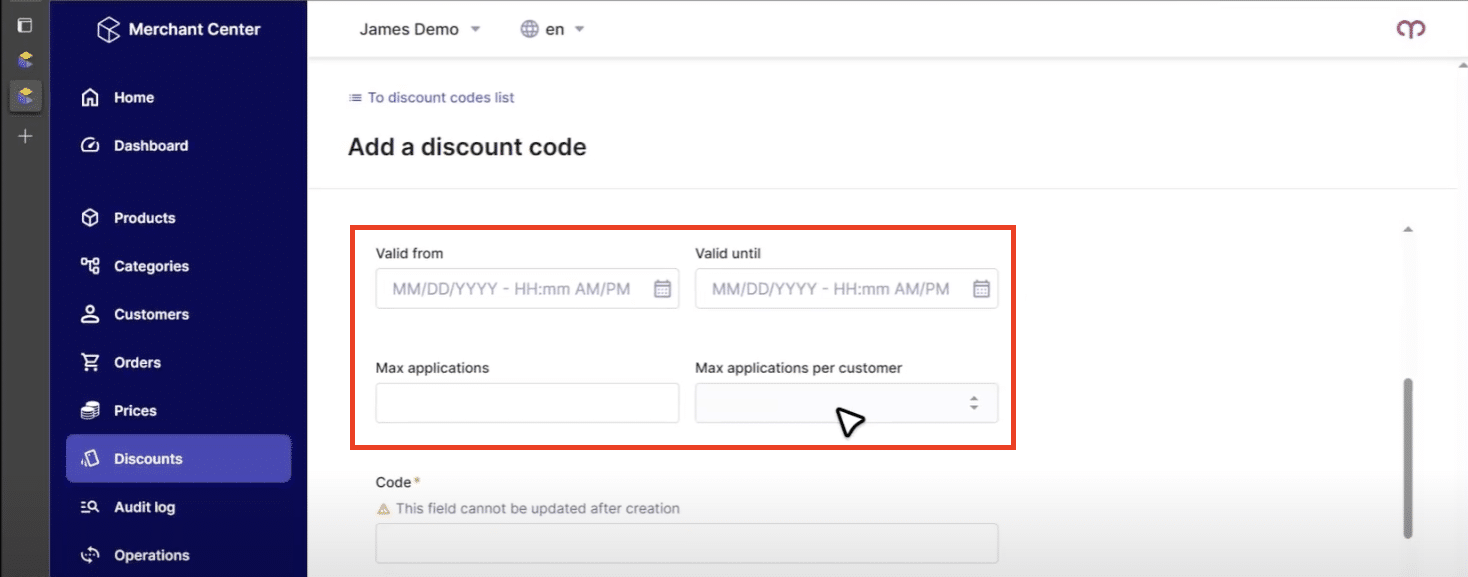
The coupon code can also have “Valid From” and “Valid Until” dates. This feature allows you to leave the cart discount as it stands and, instead, send out different discount codes throughout the year to continue to engage your customers. However, if you need to send a discount code to a specific customer demographic and allow a week for them to use it, the “Valid Until” date guarantees the code will shut off at the appropriate time.
“Max applications” allows you to set how many times this code may be used. “Max applications per customer” sets how many times the discount code may be used by a specific customer. All of these fields are optional, so we will leave them blank to keep it simple. However, it is important to make note of these helpful options.
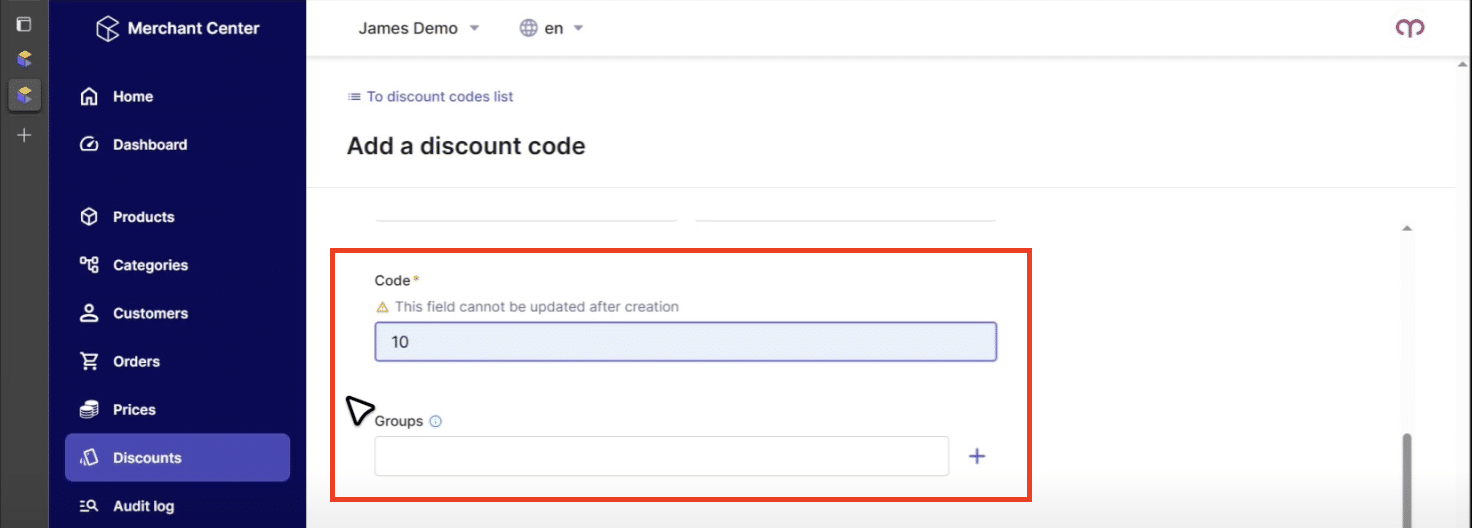
Enter the coupon code as “10.” If you auto-generate coupon codes, we recommend grouping them for a better understanding of how they work together. For our purposes, leave that field blank.
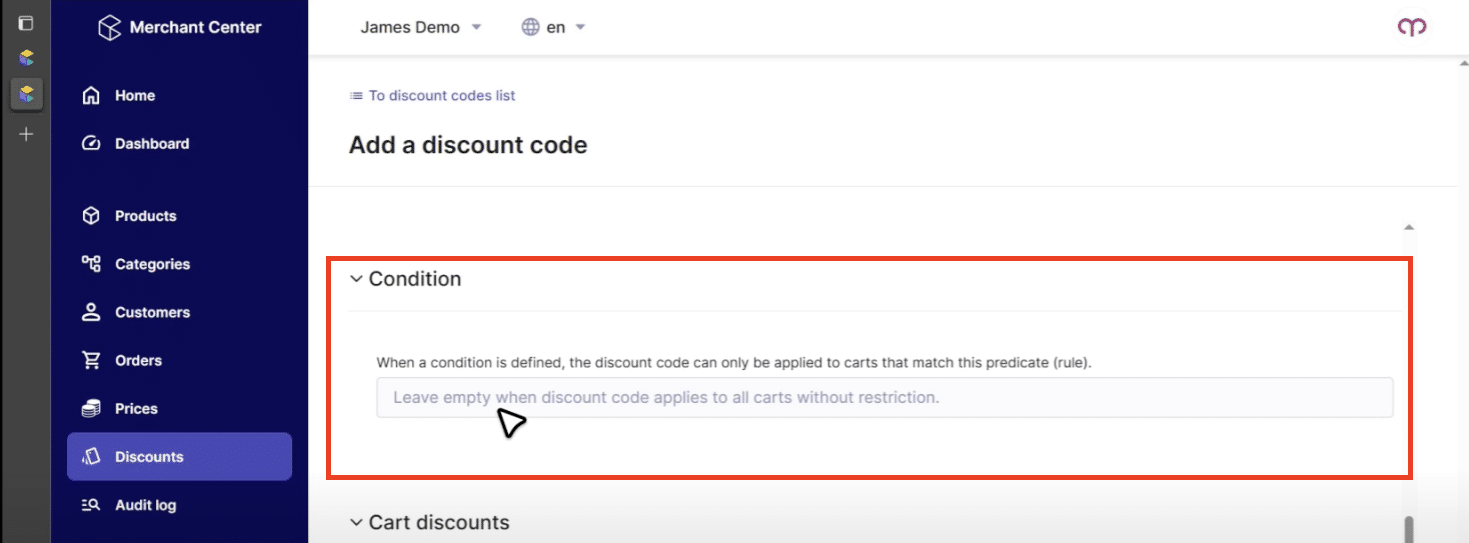
The Condition is the cart predicate. It dictates how to match this code to a cart and lets you set up additional rules. This is where you can say things such as the customer’s last name equals X or their email equals Y, and limit who can use that code.
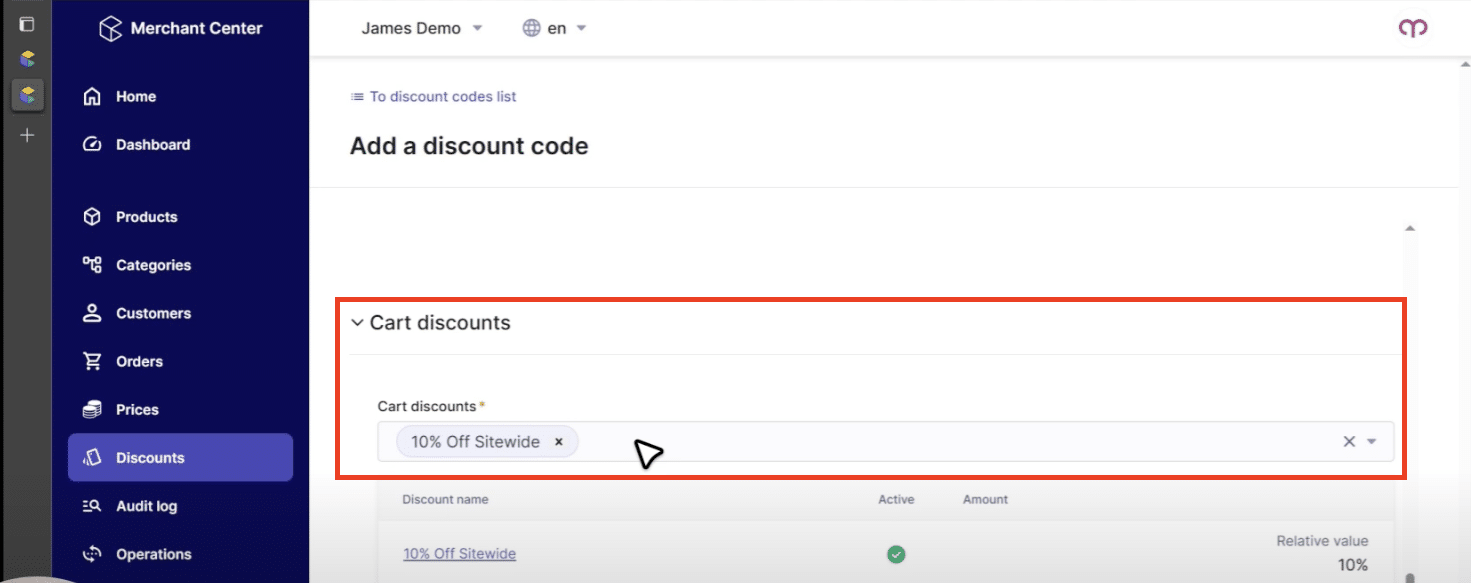
Under “Cart discounts” is where you create the list of cart discounts that commercetools will attempt to apply when a coupon code is added to the cart by the customer. If you used that shortcut earlier on the cart discount page, the Merchant Center should populate that list for you. Note that you may have multiple values, meaning one code can create multiple cart discounts. For our purposes, let’s keep it as one value.
Save and activate the coupon code. If you like, you can stop right here and everything will work properly. We are going to take it one step further and explore the API to see these in the actual code.
Adding a Discount Code
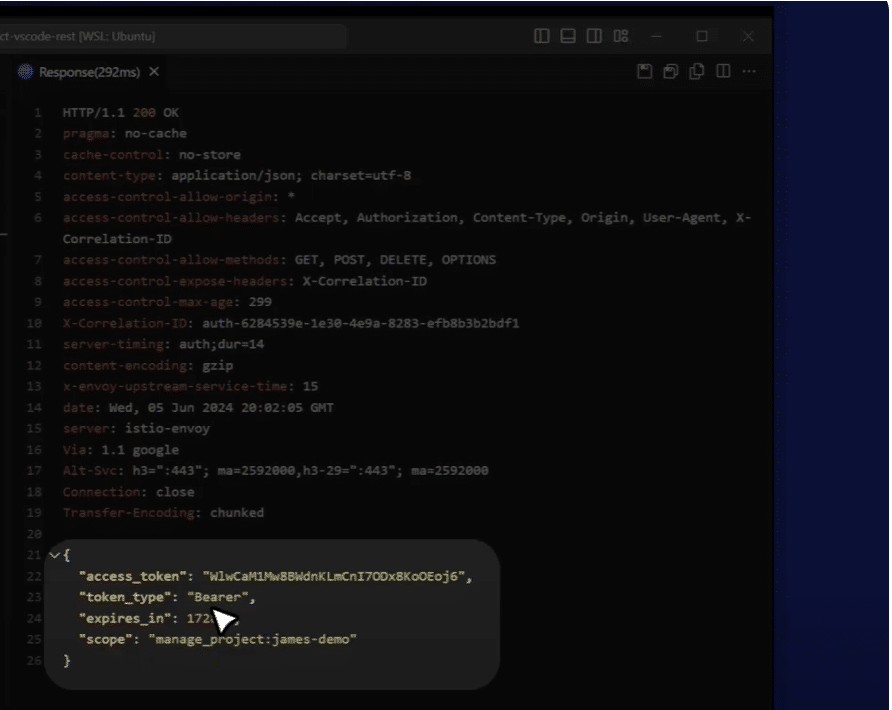
Let’s dive into what creating a cart discount in commercetools looks like in the VS (Visual Studio) code. The first thing we’re going to do is call the auth endpoint and ask it to give you a token. In this case, it’s a managed project, but it gives you a bearer token. This can be used for all the subsequent calls. If you’ve never used the VS code REST client before, you can give it an HTTP file which lets you make API calls directly from the VS code. We named this one “Auth” so we can use that access token on follow-up calls. We are passing it as part of the bearer token.
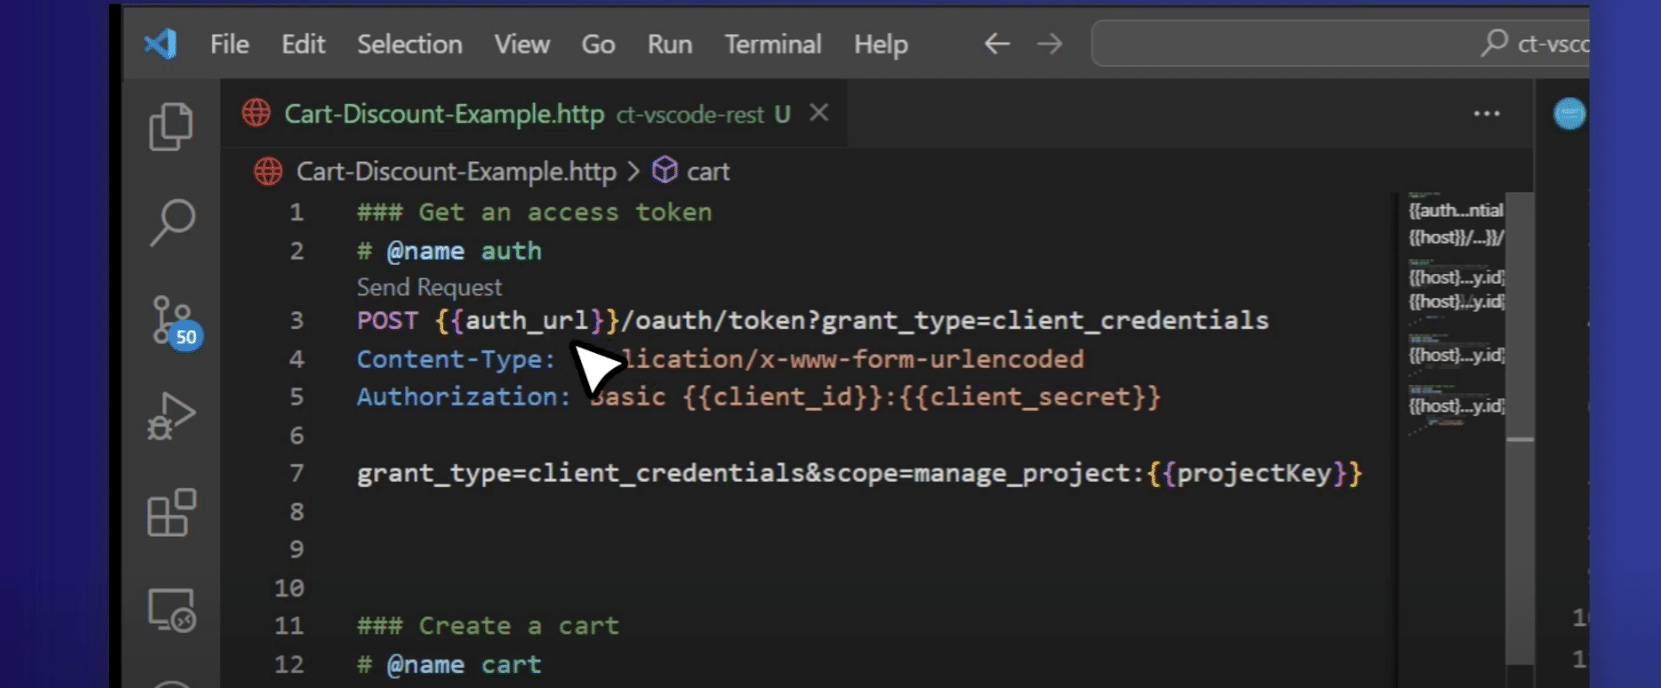
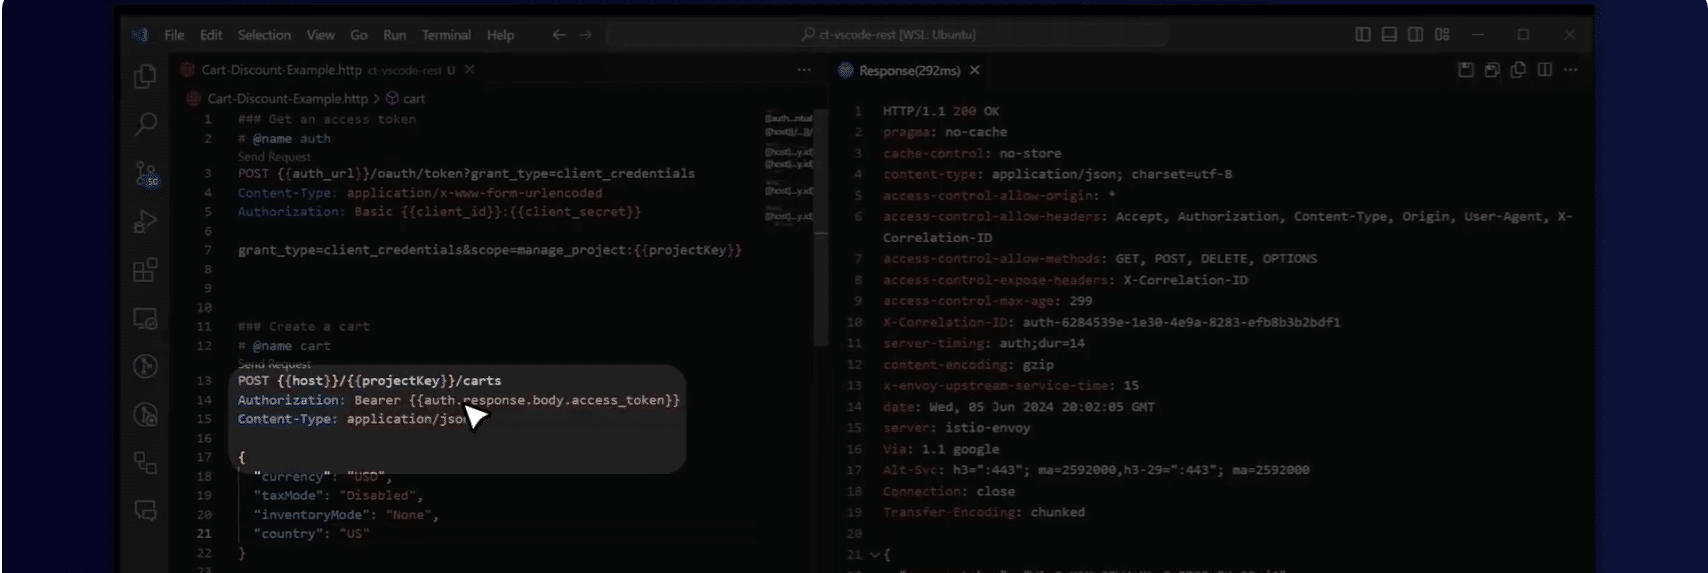
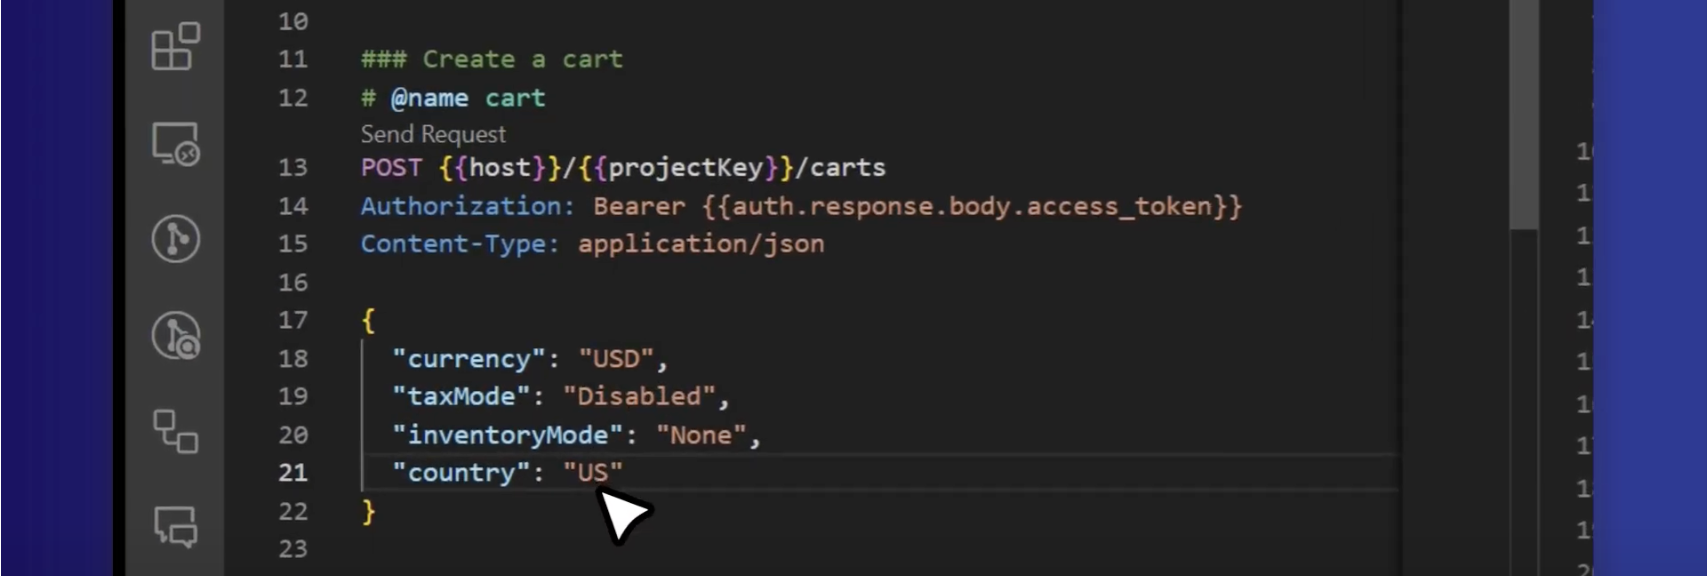
The second thing we’ll do is create a cart. Ours is in USD (U.S. dollars) and exists within the United States. We disabled taxes and turned off inventory to keep things simple. In a real project, both of those would likely be external and/or turned on.
This cart is empty so let’s add an item to the cart. Remember that version number? You will need it for every update. In this case, we’re using version one for the cart. We enter a SKU. This SKU is from the Sunrise data set for commercetools. Hit enter and you’ll see it added to your cart.


The cart should now be at version four and have a line item attached.
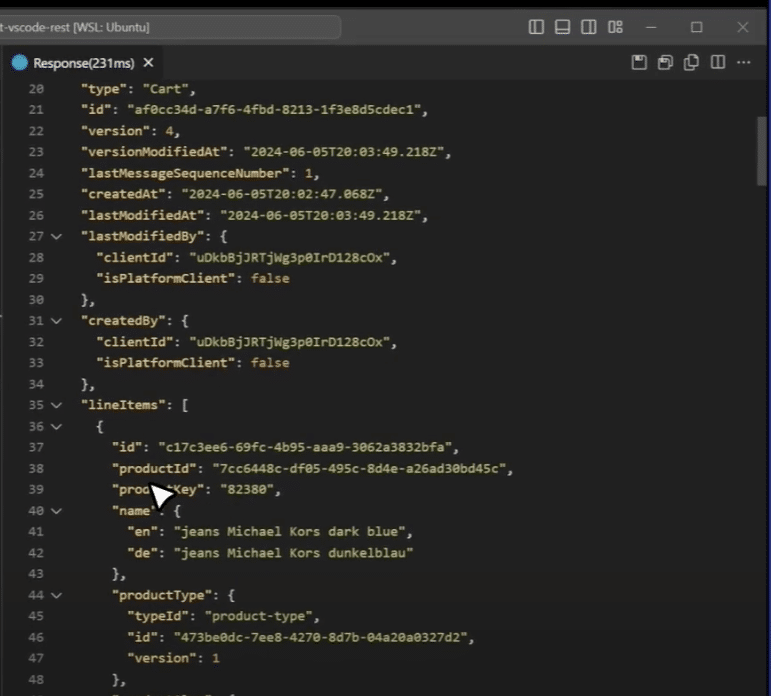
Scroll down to the bottom and look at the total price. There are no discounts indicated. We are paying full price for that item.
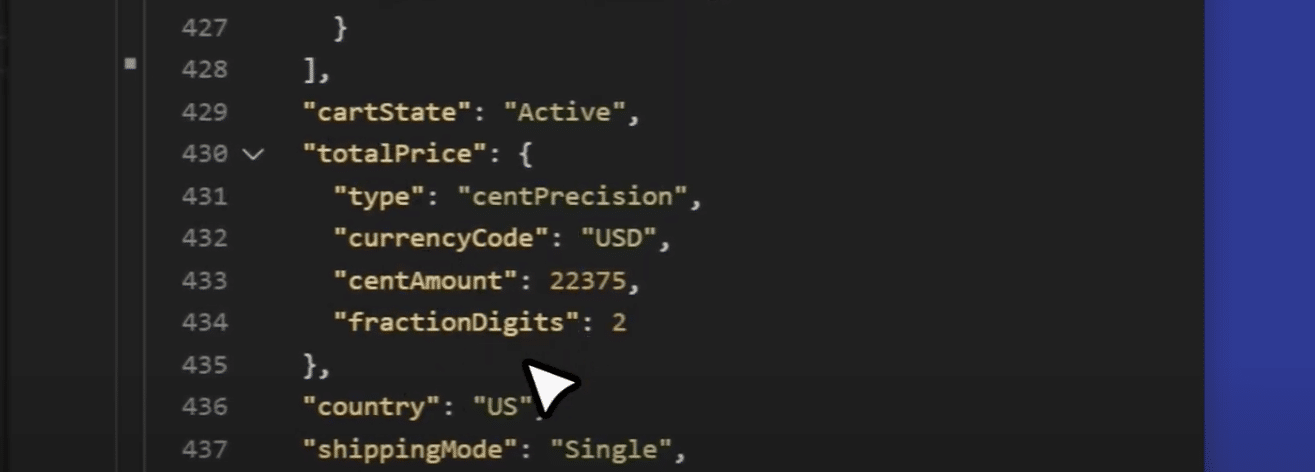
Let’s add the discount code. Enter cart version four, and the discount code; “10.”


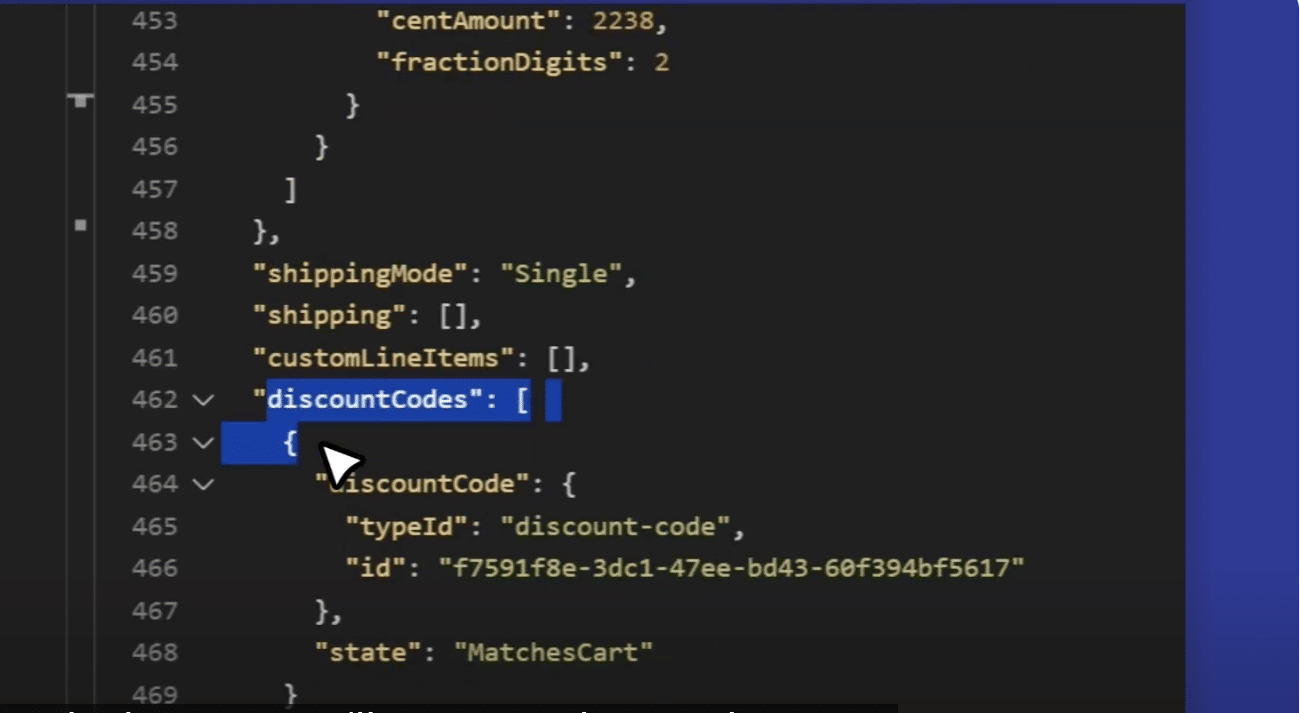
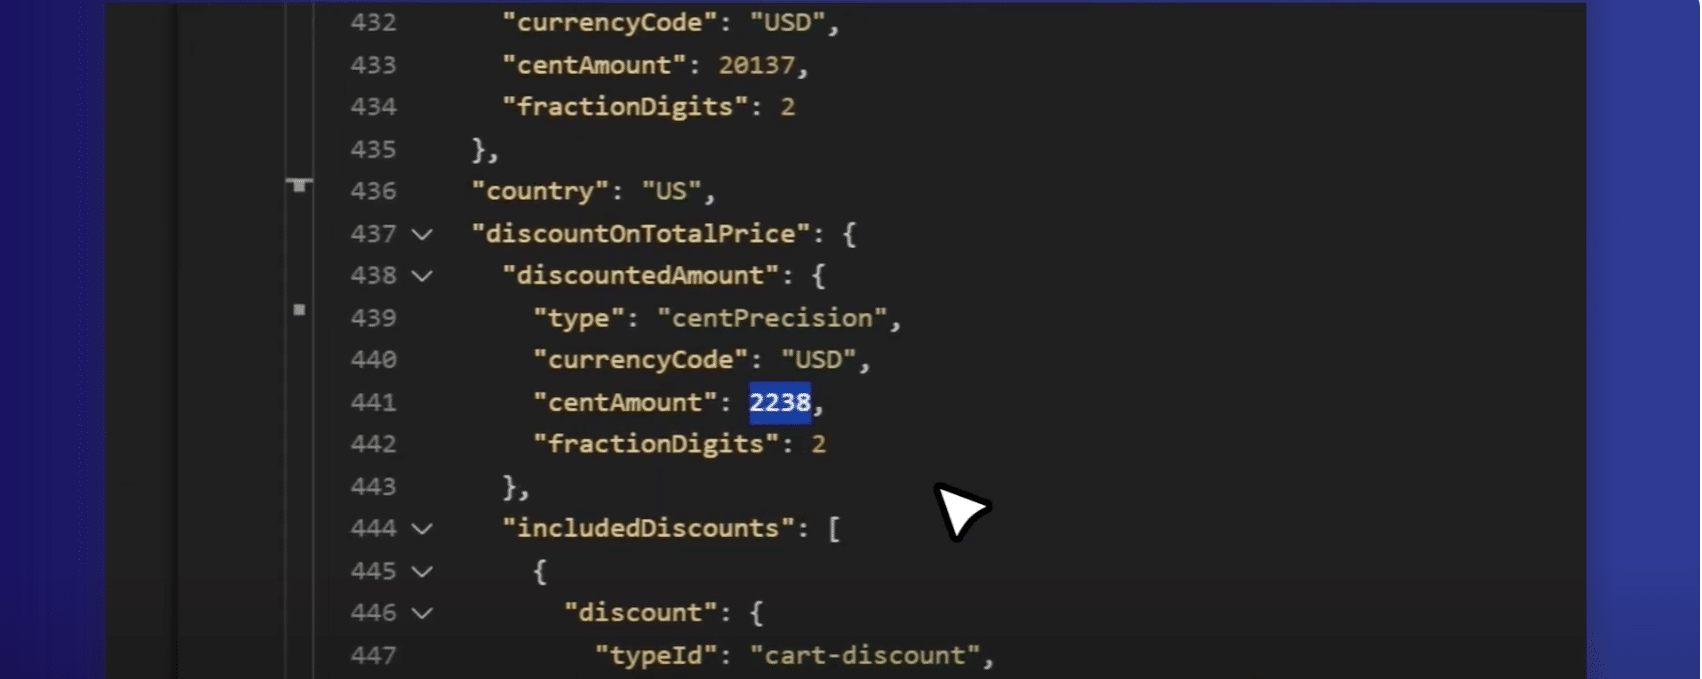
If you scroll back up, you’ll see we are now at cart version eight. And if you scroll down to the bottom, you’ll notice we have our discount code attached. We have that discount on the total price reflected in the totals. This will only populate when the discount type is on the total. You will not see this here for a discount on a line item or shipping. commercetools always uses a cent amount with fraction digits. In our case, it’s 22.38 as the discount. This is what gets displayed to the customer.
Questions about creating a cart discount in commercetools?
Please reach out to us – we are happy to help! If you prefer the vlog version of this article, be sure to check it out on our YouTube page! Give us a follow for more helpful content and click here to read up on our other commercetools promotions articles including:
commercetools’ Promotions Overview
How to Create a Buy More Save More Promotion in commercetools

